Apply foundation makeup: liquid foundation, cream foundation, powder foundation. Apply with foundation brush for ultimate coverage; set with loose pwoder or pressed powder.
Foundation, not the most exciting cosmetic but probably the one that causes the most grief. Apply foundation perfectly with the correct color and application tips.
It seems like no one enjoys dealing with foundation. But how important is foundation?
Foundation is probably the most essential cosmetic because it is one of the necessary steps of
basic skincare. For healthy skin, you have to protect it. That is where foundation comes in.
Foundation protects your skin from the environment-the sun, wind and pollutants-things we face everyday no matter where we live.
The problem with foundation is that we make common mistakes while applying it. We get the wrong color; it looks "cakey" and sometimes accentuates the flaws we were trying to cover.
How to apply foundation for the best results? We need to learn how to pick the perfect color and apply and set it correctly.
How to choose the perfect color
The key to flawless coverage is not to look like you are wearing a mask. It is NOT possible to pick up a bottle of foundation at a store, hold it up to your face and get the correct color. Honestly, you will need to sit down with a makeup consultant and test the color. It is best to test foundation color with sunlight. The worst lighting is florescent. No one looks good in florescent lighting. Never, never, never test for foundation on your hand or wrist.
For ivory/beige women you will need to check your foundation on your neck and jawline. Sometimes the neck is a little different color than the face, usually a little darker and more yellow undertone. Because you will blend your foundation at your jaw line, you will want it to match where it stops at the neck.
For bronze women, you will want to match your foundation on your cheek and jaw line. Sometimes there is an unevenness of color and this will help even out your skin tone.
How to apply
There are mainly three
tools you can use for applying your foundation: sponge, brush, and fingers.
- Sponge: A sponge is great to give you a light, sheer layer of foundation. It makes the foundation very easy to blend, a necessity for foundation and keeps your fingers clean too! I bounce back and forth between this one and the brush. The downside, a lot of foundation can get absorbed in the sponge so it tends to waste product. You will need to clean your sponge after every use or do what I do, buy a bag full of inexpensive sponges at a department store and trash them after every use.
- Brush: I love the brush. The foundation looks perfect when using a brush, I can't really explain why, it just does. Use a foundation brush for a couple of days and it will be hard to go back to what you were using before. The one problem, you have to clean it every time you use it or you will ruin the brush. If you have to reapply your foundation during the day, a brush is the only way to go!
- Fingers: Fingers are great because everyone has them, you always know where they are, and they are inexpensive. I personally, don't like the feel of foundation on my fingers so it's not my favorite. But if you don't have issues like me, they work great. Can be hard to blend with so just be careful!
Set correctly
I never have understood how women can not set their foundation. It should be illegal! So here are three easy ways to
set your foundation, no matter what your preference is.
- Loose powder: Again my favorite but tends to be messy so be careful. Loose powder does not set into fine lines as easily as pressed powder does. It will set the foundation with a little more coverage but not be as heavy as a pressed powder can be. Perfect choice if you tend to be oily!
- Pressed powder: Very convenient and that's why we love it. It is great for touch ups throughout the day because it does give more coverage then a loose powder does. You do need to be careful because too much can make you look...well like your wearing powder. Not exactly flawless.
- Blot: As long as you don't have oily skin and not incredibly humid in your area, this will work great for you. You can purchase blotting tissues to keep handy or a facial tissue will work great too. Press to your face and blot softly with the tissue. It will take off the excess make up but will not mess up your makeup.
Orginally Published on March 10, 2006 with
Suite101.
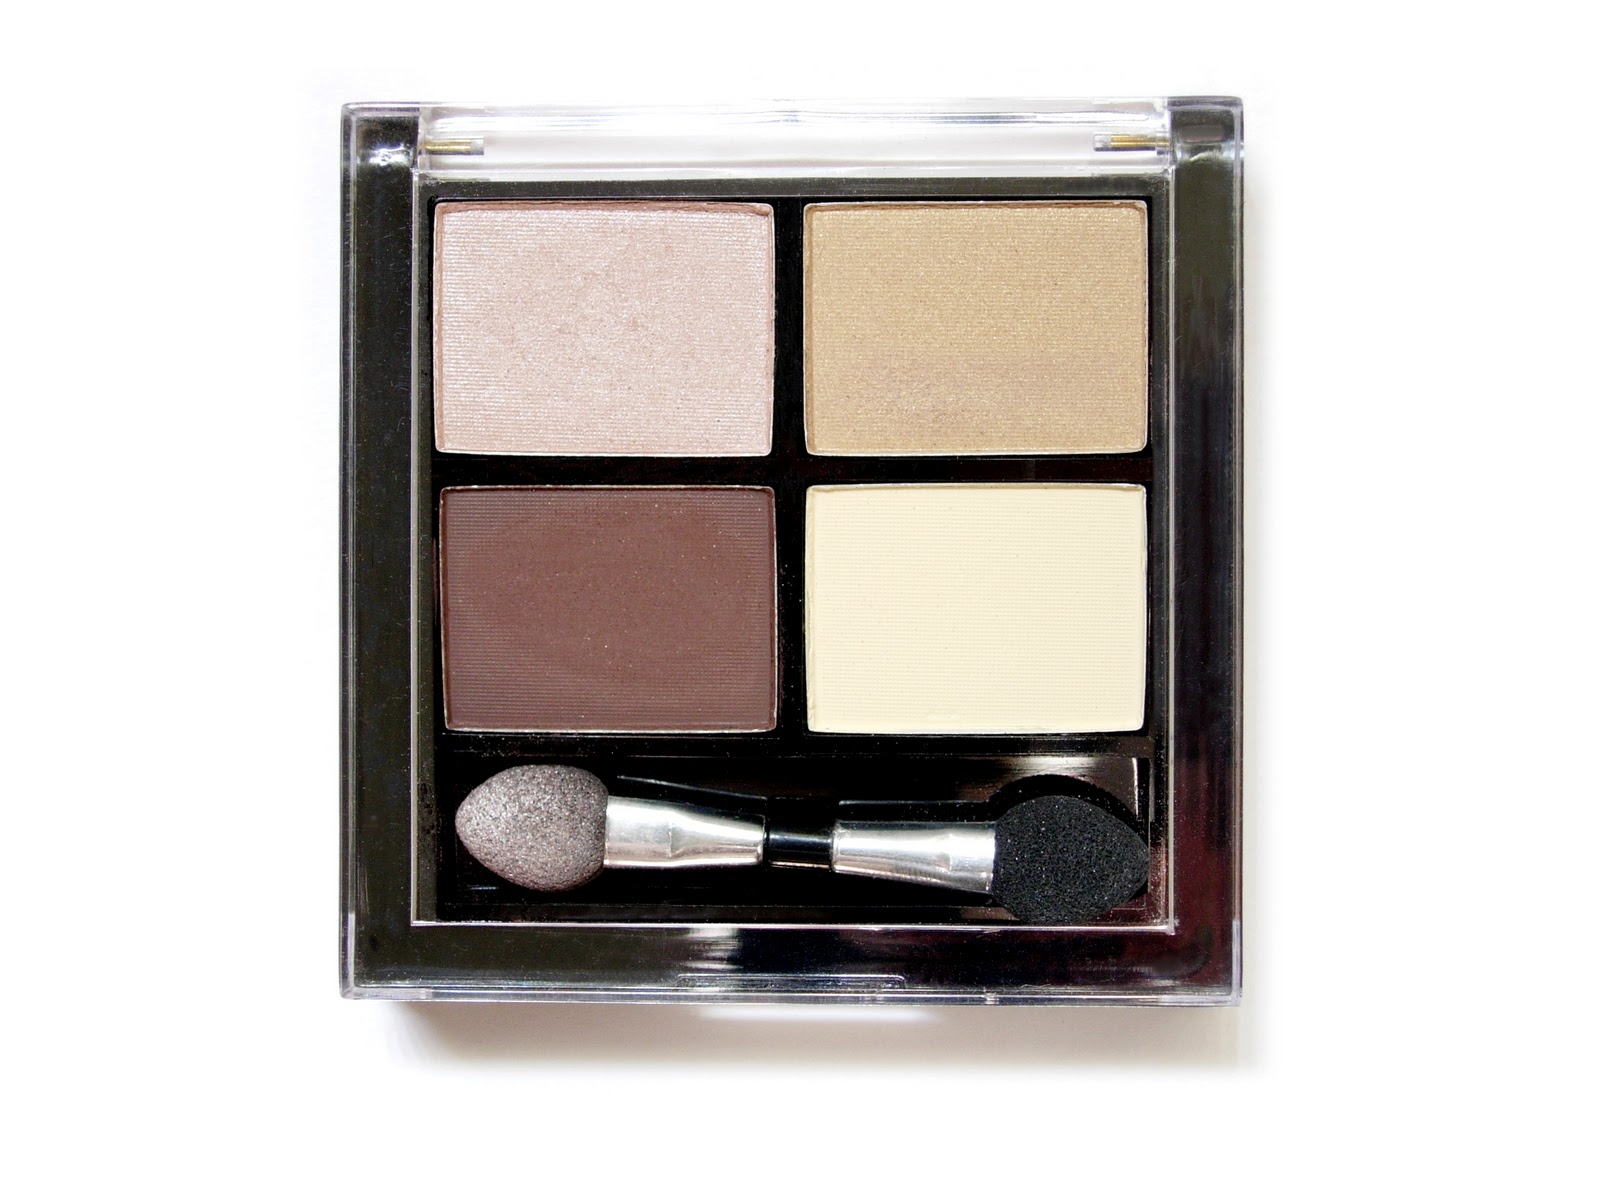
Picture from
Stockxchng.